When entering into this area of design, you almost always find yourself imersed in a new language of technical terms to learn before you can converse with the experts. The Design industry as almost any other involved artistc endeavor. both have terms that refer to the parts and pieces, to codes that affect them and terms that describe the tools of the trade. So to get off of first base, let’s define some of the key terms that pertain, to help you be able to talk to them more intelligently.
Specialization in Design uses an involved system of capture, for the image you want to see.
Software tools are more than Cadd, they are BIM (Building Information Modeling) Virtural real-wolrd parts synchronized so your view of the art or building is 3-D.
Beyond the basic types, other terms refer to parts of, or to the science behind how this all works.
Collimation is a term for how well tuned to give you a good clear image of what you are looking at. You want to have good collimation so you are not getting a false image of the Building's Design
BIM is an acryonm (Building Information Modeling) for how your building design is assembled in its design framework within the computer. But it’s an important word because the its organic to this "cyber-climate" of building; it is the key to how powerful your "data-building" is.
Keep Your Home -- and the Environment -- Clean with These Green Tips
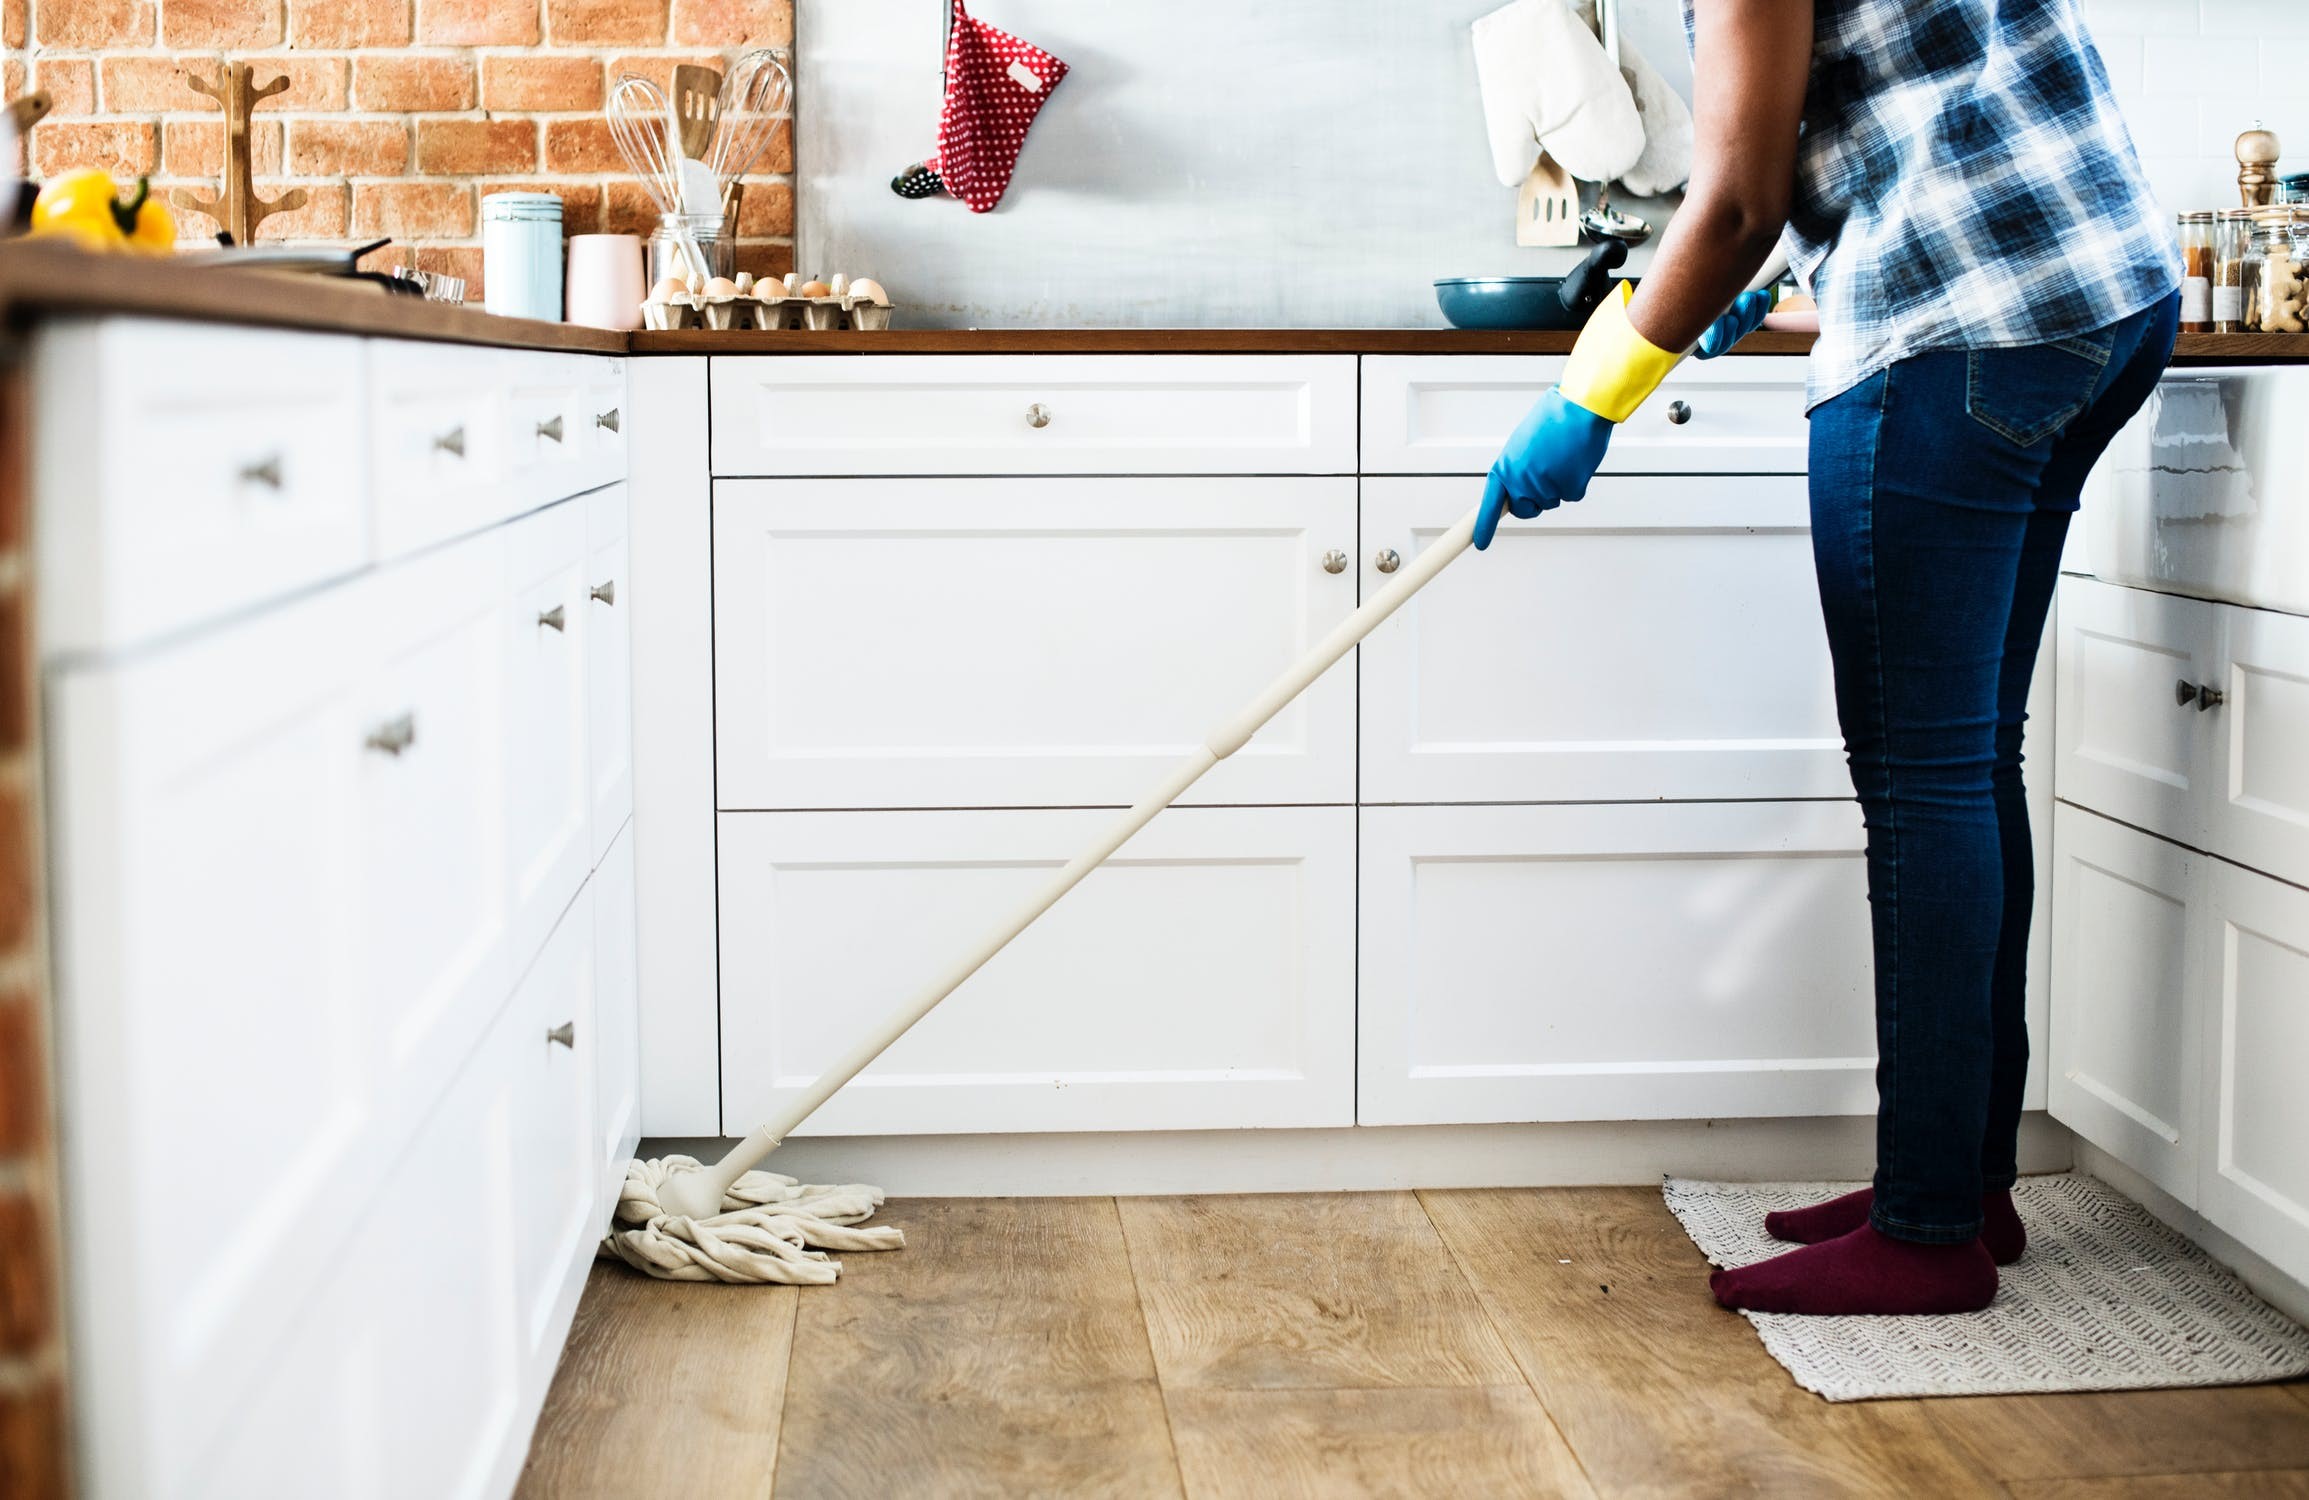
As the seasons change, you may find yourself in the mood to declutter and clean your home. While getting rid of clutter can decrease your stress, it’s also helpful to choose eco-friendly methods to tidy up your home. If you want to organize your home and help preserve the land, air, and oceans, here are some simple steps you can take.
Choose Toxin-Free Cleaning Methods
When you wipe down your counters and mop your floors, you may think you are protecting your family from germs and allergens. But if you are using some of the most common cleaners in your home, you could actually be leaving more dangerous toxins behind. You can see if your cleaners made it into the cleaner hall of shame, and then make the move to safer, greener options. Always look for an ingredient list printed on “green” products to make sure they are actually safe. If you really want to be sure of what is going into your home, try bottling your own homemade cleaners by using common kitchen ingredients like lemons and vinegar.
Get Tools to Keep Things Tidy
As you go through and clean up your home, you are putting in a lot of work and time, so it makes sense to get some tools that will help you keep things that way. Keeping your home clean means committing to routine cleaning throughout the week, and you can motivate yourself to do so by picking up a new, high-quality vacuum. Having a lightweight vacuum that actually picks dirt up makes it a lot easier to maintain tidy floors and a tidy home. You can check out reviews here for some of the top lightweight vacuums on the market, which are perfect for getting those hard-to-reach places and addressing the upper floors of your home. Look for eco-friendly dusters and cloths that can help you keep your home clean and toxin-free.
Don’t Let Large Items End Up in Landfills
Old printers, broken appliances, and worn-out mattresses can take up so much room in your home and storage areas. It can be hard to know what to do with these items, especially if you do not want them to end up in landfills. The world is running out of room for our trash, so it’s important to find ways to get rid of your unwanted items responsibly. You may be able to find a local charity to pick usable items, but for the goods that cannot be saved, look for recycling centers to take them. Some stores offer electronic and appliance recycling when you purchase new ones, so take advantage of these services if you can.
Get Rid of Paper Files and Photos
Paper is another common source of household clutter. Unless you have tons of storage space or filing cabinets, you likely do not have room to keep every single photo or document in your home. Instead of relying on paper copies, which can be easily damaged or destroyed, why not embrace digital storage solutions, like clouds. Cloud storage offers infinite storage possibilities for your precious photos and paper items, and it becomes much easier to organize and share your memories. Once you have everything scanned, you can seek out shredder services for secure document disposal without putting you at risk of identity theft.
Keep Plastic Out of Our Oceans
Oceans contain so much of the life on our planet, but our oceans also contain most of the plastic being dumped by people. Plastic bags, containers, and straws wind up finding their way into waterways and cause problems for wildlife. You can help end the plastic problem by making small changes to your habits at home. If you use storage bags and containers to organize your home, switch to more sustainable food storage solutions. Make sure you rinse plastic bottles and containers out and put them into recycling. Plastic is slow to decompose -- if it breaks down at all -- so you definitely do not want your plastic trash to end up in waterways or landfills.
Going green when you are getting rid of clutter in your home is easy. By choosing green cleaning products and methods, you can make a major impact in your home, and the environment.
Photo Credit: Pexels This months' guest Article writer is
Alice Robertson began her career in the home organization industry as a professional house cleaner. After cleaning and organizing her clients’ homes for years, she decided to open her own home organization business. Over the years, she has built an impressive client list, helping to make spaces in homes and businesses more functional. She recently created tidyhome.info as a place to share the great cleaning and organizing advice she has developed over the years.
How decluttering your home during major life transitions can clean out the bad and make room for the good.
Tidy Home wwww.tidyhome.info
Keep up Your Home
The front of your garage is usually plain, right?
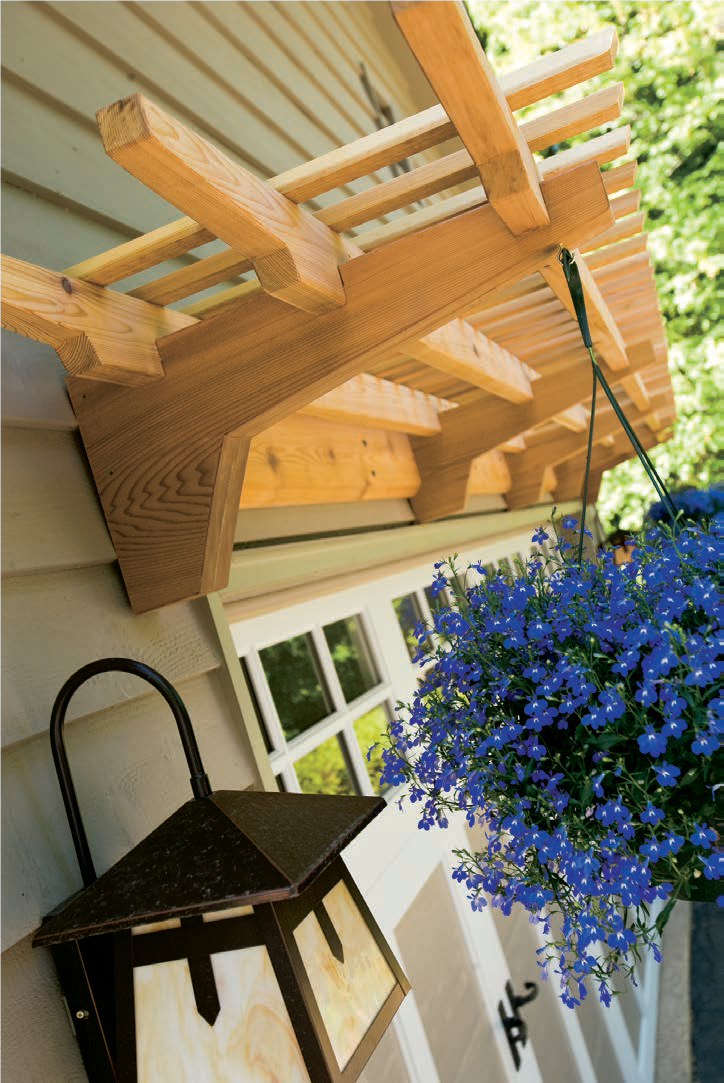
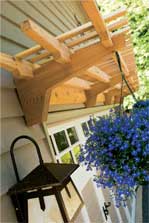
How about dressing it up with an overhead arbor. Besides providing a little shading, style, and design, it has support for climbing vines or Hanging plants. The structure adds dramatic design impact and lends a unique look to virtually any style of home, but is mostly a bit of that craftsman style flair. Built from cedar, this arbor is designed to fit a standard 16-ft.-wide garage door, though it’s easy to adjust the length depending on your specific requirements. It is built in two sections, so you can easily purchase and transport the lumber in most vehicles and do most of the cutting and assembly in your home shop/garage. Just join the two halves of the arbor outside once you’re ready to install it. Basic carpentry tools are all you’ll need to craft this eye-catching creation, and because you won’t have to alter your home’s siding to install it, you can easily remove it if you decide to change your home’s exterior in the future. Call For Plans!
Keep Your Home
The Ultimate Summer
Grilling Guide
Find out how to become a BBQ Grill Master with these 7 helpful
grilling tips.
The Summer Grilling season is here, according to grilling expert Roy Slicker,
owner of Slickâs Que Co. in Bend, Oregon here are a few BBQ tips on how to use
your grill best. As president of the National Barbecue Association (NBBQA), he
knows a few inside tips about grilling techniques.
1. Start by a Searing
âCooking too hot is the biggest mistake grillers make,â Slicker says.
Instead of cooking your meat all at one temp, sear it over high heat, then move
it to the side, over indirect heat, to finish. âYouâll still get that amazing
grill taste, but it will be tender and juicy â not tough and dry.â
2. Always Use Clean Platters
Never put cooked meat on the same surface where raw meat has been, or you
risk contaminating your cooked food with bacteria.
3. Parse Your Grill Top
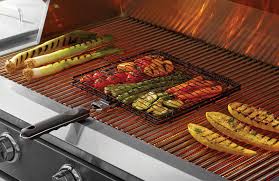
Organize your barbecue grill into sections â for fish, meat, veggies and
warming â to make sure flavors donât mingle (and to accommodate special diets).
4. Use Foil to Disperse the Heat
Before you start using your gas grill, take off the grate, pop out the burn
units and line the bottom with foil. The reflective surface provides a more
even temperature and eliminates hot and cold spots.
5. Donât Forget the Veggies
One of Slickerâs favorite barbecue recipes is barbecued asparagus. Put some
in a plastic bag with olive oil and chopped garlic. Squeeze in a half lemon,
then shake. Take it out of the bag and throw it on a hot gas or charcoal grill
â crosswise, so the stalks donât fall through.
6. Let Your Meat Sit Before You Slice
If you cut meat too soon after grilling, a lot of the juice will run out,
and youâll lose most of the tenderness and flavor. For thick cuts of beef and
pork, let the meat rest for at least 15 minutes, Slicker suggests.
7. Clean Your Grill
When youâre done grilling, turn the heat up to cook off leftover bits of
food. Follow up with a wire brush scrub after every use. If you donât, the
remaining food particles can foul the taste of your next meal, clog your
burners with fat and potentially make you sick.
Keep Your Home
5 Questions to Ask
Before Buying a Gas Grill
Our buyerâs guide will help you find the perfect Kenmore gas grill â
just in time for your first summer cookout.
Summer is here and that means barbecue season! From cookouts to evenings on the
deck, a good grill is a must. How do you know which grill is right in your
lifestyle? Designing and Planning on buying a new gas grill, check out this
guide to help find the perfect grill. From searing burners and rotisserie sets
to the infrared and convection options, this handy list of questions to ask
will turn you into a grill master in no time.
1. What size grill do I need?
Size matters, when youâre choosing a gas grill. Determine how many people
you usually cook for. Traditionally, you want at least 72 square inches of room
on the main grill grate for each person eating. If you donât have a tape
measure handy, thatâs about the size of a dinner plate. Speaking of size, make
sure your grill has at least 12 inches of headspace between the cooking grate
and the inside of the lid. The extra space will give your grill the versatility
to sear steaks or roast a whole turkey.
2. How many burners should I get?
Multiple burners give you more control over the cooking temps, especially
when youâre grilling for a large group. Donât spend money on unnecessary
burners. A grill with two to three burners should be enough for the average
home. Do you prefer the side dishes to the main course? Some grills come with
side burners. Theyâre great for warming dishes, but the additional gas hoses
are exposed to possible leaks over time and maybe more of a maintenance
headache, if not really needed. If you find your tank(s) mysteriously low or
out of gas unexpectedly â check for bad hoses and connections, itâs also a
safety issue.
3. Infrared or convection?
Infrared technology could be your secret weapon for an amazing barbecue.
Convection cooking can dry out food because it heats by circulating hot air.
Infrared technology emits infrared waves to heat your food directly and reduce
air circulation. What does that mean? Faster cooking time and food that retains
more moisture. Worried your new infrared grill will burn your veggies or
chicken? Think again. Temperature is still easily adjustable, so you can steam
veggies or roast a chicken with no fuss.
4. What will I be cooking most?
Does your mouth water with the thought of a juicy cut of steak? If so, you
might want to spring for a searing burner. This high-heat burner will give your
meat a beautiful crust on the outside and a medium-rare center, so you can make
restaurant-quality dishes right in your own backyard.
If you like roasting your meats and veggies, consider a rotisserie set. This
feature slowly roasts your food for juicy, flavor-packed results. Your guests
will wonder how you achieved such intense rotisserie flavor with that
right-off-the-grill feel.
5. What extra features do I want?
If youâre a barbecue fanatic, you might want to consider adding a built-in
smoker to your new grill. Some grills even add a small oven to your grill to
fire up a pizza or bake desserts!
Spring Fresh House Appliances
Spring Fresh House Appliances
1
Ooh, Ooh That Smell? Â Tips for Spring Clean Appliances
If your
washing machine smells â or your fridge, dishwasher or dryer â these cleaning
hacks and remedies for cleaning appliances will help them smell like new again.
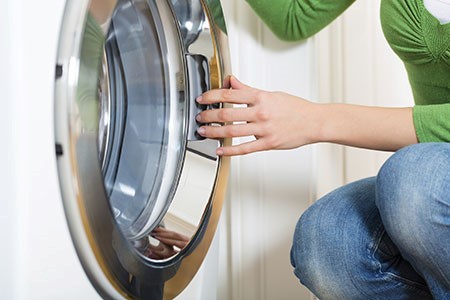
Open your
front-loading washer and, well you know that appliances can take on some pretty
bad smells. Here are a few common causes and remedies for strange appliance
odors.
Dishwashers If your dishwasher smells like
an old dishrag, food caught in the filter is the likely culprit. Most newer
models have a removable filter in the bottom of the tub â just give it a turn
and it should come out easily. Soak that bad boy in some soapy water, and then
rinse it well. If that doesnât solve the problem, sprinkle a cup of baking soda
in the bottom of the tub and run a normal cycle.
Front-loading
washing machines It sort
of defeats the purpose if your workout clothes smell worse after theyâre washed
than they did after your 5K run. But the fact is, washing machines can often times
take on a pretty rank smell that can attach itself to your clothes. What causes
it? The efficiency of your washer, in part. Front-loaders use less water than
their top-loading cousins, which is greatâif you always remember to use
high-efficiency detergent. But if you grab the wrong bottle of detergent, you
could end up with soap residue that doesnât completely rinse off of the drum
inside the washer. Thatâs where itsâ a breeding ground for mold and mildew. To
add insult to injury, the rubber gasket on the door can also trap dirt and
soap.
Combat
this âperfect storm of stenchâ with the worldâs best natural cleaners: vinegar
and baking soda. Pop a quarter cup of baking soda and a quarter cup of water
into the detergent container, then pour two cups of vinegar (donât reach for
the balsamic, here â use white vinegar) into the drum and run a cycle. You can
also keep your washer fresh-smelling by opening the door a bit when itâs not in
use, and try to take your clean laundry out of the washer as soon as the load
is finished running. The key is to not let dampness build up.
Dryers All of the dryer sheets in the
world may not be enough to keep your clothes smelling fresh if there are odors
lurking in your dryer. The common culprit is damp lint trapped in the dryerâs
vent. A lovely concept! To fix it, remove your vent and vacuum out any lint or
other trapped debris. Another cause of a musty smell? Loads that are too large.
If youâre cramming in every T-shirt and towel you own, it may take the load too
long to dry, and that can be yet another breeding ground for bacteria.
Refrigerators The first thing to look for is
last monthâs leftover takeout that got pushed to the back and is turning into a
science experiment from mars. If it still smells like rotten eggs in there,
after removal, bite the bullet: Take everything out and give the whole thing a
good cleaning with a mixture of white vinegar and water. Itâs Spring Cleaning,
after all. DONâT forget the condensate / overflow catch tray beneath your
fridge â but, everyone does! Itâs a prime breeding ground for bacteria and mold
growth that can get air-borne and make you & your family sick. Clean that
with gloves & possibly a mask, if bad.
Keep Your Home
Flooring
Tile Renovation Project using SnapStone Flooring Tile. In this post
I want to share and relate the process of installation of a âGreenâ flooring
tile product I recently used. Not only want
to share, but purchased and installed for my own home to complete a kitchen and
laundry room flooring job.
http://www.snapstone.com/
This ânewâ ceramic tile is a full standard ceramic tile, but
is also imbedded in a formed plastic tray. The tray is the heart of a system
that incorporates a series of tabs on all four sides that interlock and a small
lower section of tack rubber at the very bottom lower edge. This, is I believe
to provide a friction base.
 The combination with
an innovative proprietary flexible grout makes for a floating C.T. (Ceramic
Tile) floor. I read, researched, hemmed /hawed, spoke to many folks I trust
(with varying opinions), and weighed the options. Upon finding a sale on the
exact color model tile we wanted and a sale on a small wet tile saw (@
HarborFreight), I decided to take the plunge.
The upside of the promise: It is a DIY project, a shorter
install time due to skipping the demo/stripping step of the old existing
flooring. This is the plus side to be "green" in the environmental sense by
not filling landfills with more old flooring refuse. The time, labor, effort,
and money savings of not having to demo and cut back to the existing subfloor
and adding the cement backer board or other systems required of a âproâ caliber
standard Ceramic Tile flooring job. It is an added benefit and a significant
part of the system.
It has to be said that the existing flooring and sub
flooring systems condition must be checked, confirmed and/or addressed. There
should be no existing issues of poor, failing, movement, or out-of-level, or
irregular dips and valleys present in your floor. If any of these conditions
are present they must first be addressed like in any flooring job. This is the
time to really determine if this kind of flooring is even a candidate for your
anticipated flooring replacement job. A poor floor is a poor floor and needs to
be fixed prior to any new investment in flooring upgrade, or otherwise you will
quickly be dissatisfied in the results and possibly be blaming the type of
flooring for the underlying failure.
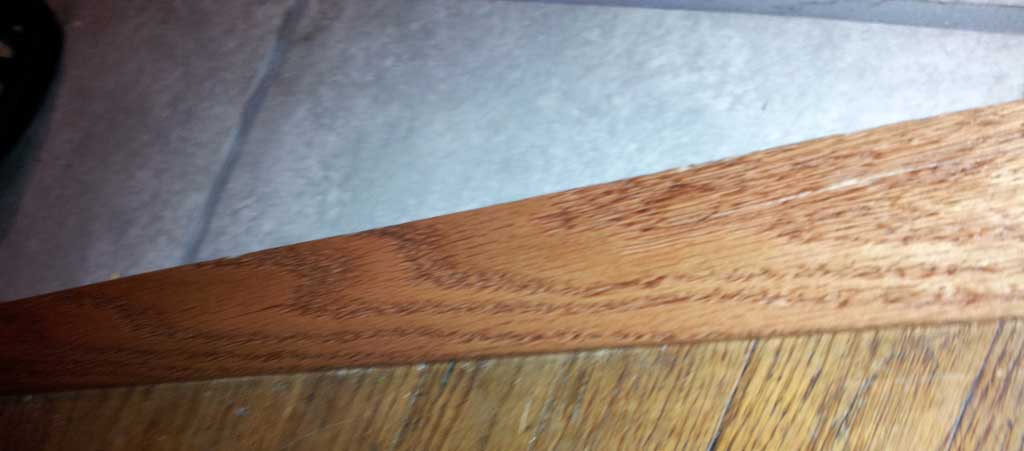
Slight imperfections in the existing such as small tears and
small valleys can be leveled out with the systemsâ own leveler product which is
not in expensive, but well worth the expense as it does a great job and
provides a slightly sandy feel to add to the friction and prevent any movement
of the new âfloating tileâ. Floating is SnapStonesâ; term to mean that the new
floor is not (typically) adhered with any glues or adhesives to the existing
flooring, but instead acts as one unit and the system and its combined weight
holds in place. The floor can and will move under differing conditions of temp
& humidity and a perimeter edge should be allowed for expansion and contraction.
The existing flooring in our home was (still is) a typical
¾â T&G plywood subfloor with a 1/8â Luan plywood layer of 12â square
self-stick vinyl tiles in aging condition. I cut back small areas with cuts and
or small tears in the existing vinyl tiles. Then those cut backs where to make
the holes even, or leveled and none of the edges protruding. Then the product
leveler was applied to fill in the openings and I used a 48â level to examine
the existing floor to see about filling any existing dips. This process is very
quickly done with a trowel and dries quickly.
He the layout portion begins with, for me a ½â scale drawing
of the areas to be done so I can determine the center X & Y of where I
wanted to begin the layout and where the edges and interferences. I did not
remove base cabinets to complete the project with brevity, but did relocate the
movable appliances. This method did add to the overall thickness of the total
floor â and has to be addressed at the final details of CT floor to existing
wood floors or others.
The tiles going down are easy and snap together quickly and
a lot of open area goes in really fast. Like in anything itâs the corners and
portions of cut tiles that takes the most time and requires a small wet tile
saw. The tile saw was inexpensive (>$90) and easy to use, but very messy â
so its an outdoor only thing, for clean-up. Itâs also a lot of in and out to
get pieces a very good fit. Small pieces are kind of tough to leave a portion
of the edge snap/lock system in place, and tough to cut on the wet saw.
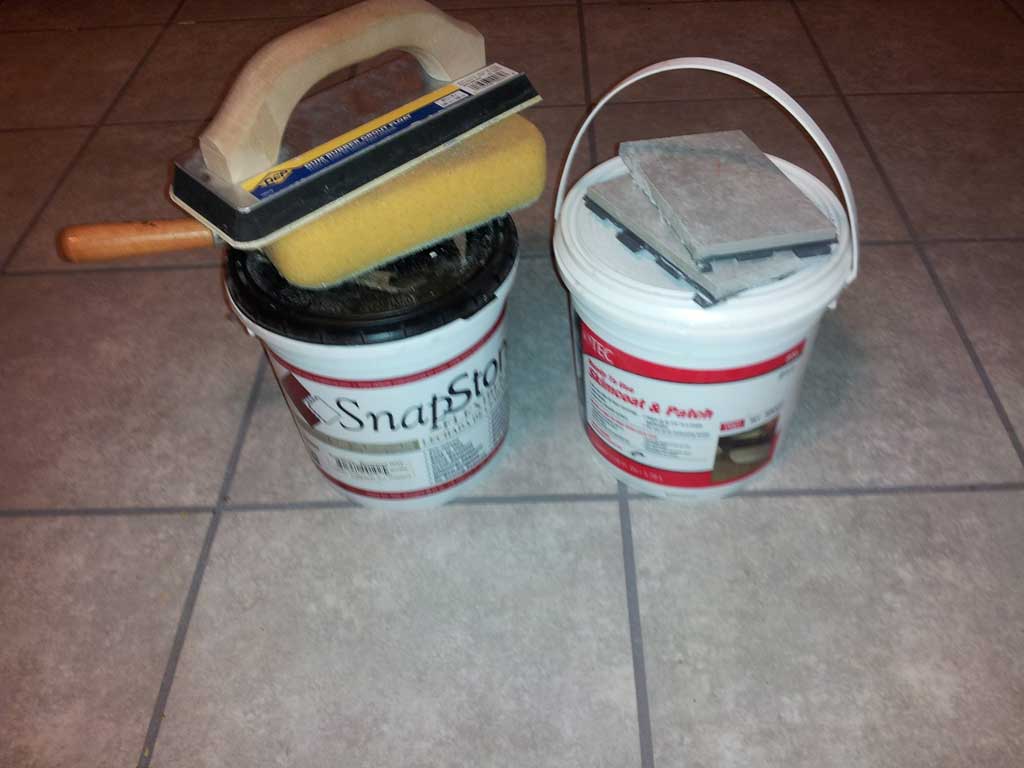
Grouting with the companiesâ flexible grout (can be color matched) is the final
tile install portion and that is done pretty much like any tile job in small
areas and water bucket and sponge. In fact any of the procedures are exactly
the same care and install as a normal tile job â so it helps to have that
experience prior to this undertaking so as to understand what all is in
involved.
Available in approx 30 colors & styles in 6x6, 12x12,
18x18, & plank styles at local big box builder stores like; Lowes, Menards,
HomeDepot and online. http://www.snapstone.com/

All in all, it took about 3-5 days to totally complete a mid
sized Kitchen and laundry room that looks good and is a good real ceramic tile
floor. That said, it has the same vuneralabilities that any CT floor has
because in the end it is a (floating) CT floor; dropped heavy things that fall
and hit the tile are likely to crack and break a tile. Full tile replacement is
easy not so much for small area cut pieces. It was about a third of the budget
for tile and accessories/equipment compared to a full CT job (Demo, Cut back,
Backer board, etc.) The install is relatively quick and the finished job looks
nice.
Update: After one year of installation it has held up well
and there have not been any unusual, or movmentÂ
problems with the floating tile systemâ I would recommend this system if
the conditions warrant and you can find a color combination that suits your
home and desired combination within their available units.
Keep Up Your Home
What’s hot this year? Check our list before making any updates to your kitchen.
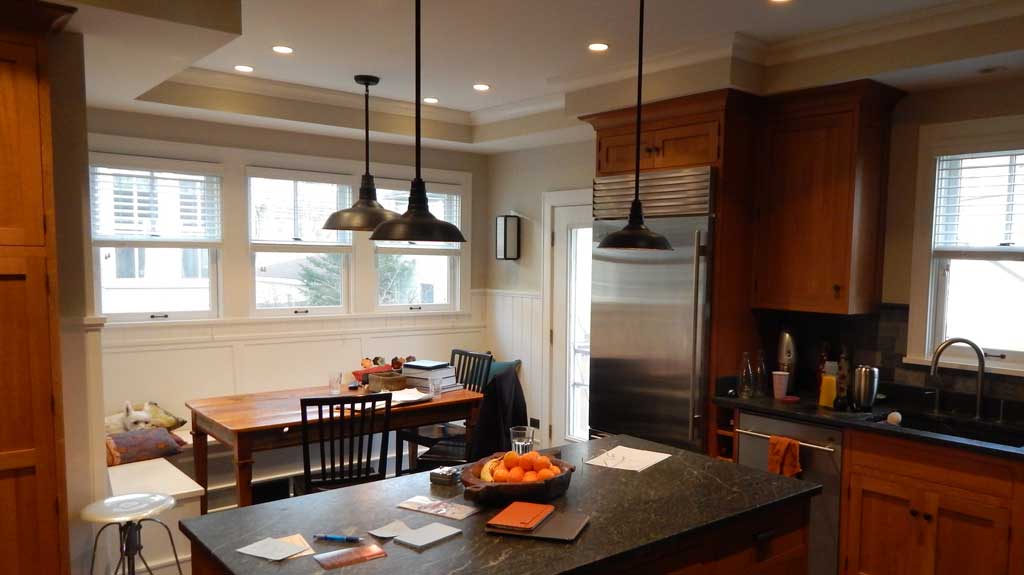
What’s big in kitchen design? This year we focus on ease of cooking, contemporary lines, and having enough space for everyone at the party to hang out with the chef.
1. Open floor plans The kitchen is the most social room in the house — everyone congregates there. An open, airy floor plan will facilitate the optimal mix between hangout-ability and ease of cooking. This trend is nothing new, but it will continue to be a popular design theme in 2016. Center islands are being built to look out onto an area for relaxation and watching TV, which in turn spills out into the dining room — formal, self-contained dining rooms are fading fast.
2. At least two work zones People love separate work zones, ideally with the fridge between the two. Who’s stationed at the first zone? The interloper who wants to make a sandwich, take something out of the fridge, get a coffee cup out of the cabinets, grab a snack or otherwise annoy the cook who’s trying to make dinner. The second work zone is for the cook alone — cutting board, easy access to knives and other implements, pots and pans, spices, oils and the other stuff of cooking. Note to casual users: Enter the cook’s zone at your own risk. You might even think about adding a cleaning zone or a kids’ zone!
3. Clean lines Traditional kitchens might be lovely, but today’s styles tend to be more modern and minimalist. Nix the curves, ornamental details and “Tuscan Sunset” paint colors. Now, it’s all about Hardware, clean lines and neutral colors. The exception? A bold statement on your range hood. Red, anyone?
4. Wood. CounterTops. When it comes to workspaces, it’s all about wood. Yes, wood. Specifically, American black walnut with durable finishes in a deep, dark brown. And the blonde chopping block of yesteryear? Gone. Walnut’s all the rage.
5. Industrial backsplashes, Subway Tiles, Etc Bring some of the urban chicness of a converted warehouse into your kitchen backsplash. Hammered metal, distressed metal, stainless steel, and even concrete are all fashionable. Zinc is also climbing the ladder of popularity, mainly with the germaphobe crowd. Glass backsplashes are also trending.
Thinking of working some of these into your remodel? Call KAdd Associates 847-971-4527
Keep up Your Home
Contemporary is in; sleek, clean lines. Classic though, is Still Classic!
If you’re remodeling, building a new home, adding on; here are some Bath trends.
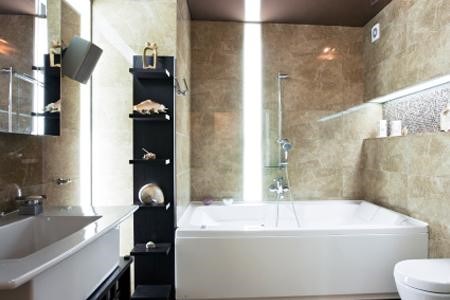
1. Open shelving
Whether it’s within your cabinets or actual shelves on the walls, this is a trend that debuted in kitchens and has now moved into the bathroom. But while towels rolled decoratively can add a sense of sophistication to your bathroom, going all open could be a mistake. You don’t want everything on public display — do your guests really need to see your makeup kit, deodorant and extra toilet paper? How about cleaning products? A few cabinets in addition to open shelves will allow you to be discreet and trendy.
2. Trough sinks
Say goodbye to his-and-hers sinks and vessels (that looked cool, but didn’t really work.) Trough sinks — basically freestanding, extra-long sinks — are blazing to the top of the trendy list. They’re big enough for the two of you to get ready at the same time but are super sleek.
3. Square fixtures and showerheads
It’s all about the angles and clean lines, and square fixtures and accessories are what’s in right now. They instantly add to the contemporary feel of your bathroom. Rain showerheads have been and continue to be water saving and luxurious;
See Moen: http://www.moen.com http://tinyurl.com/hr322qw
Also, see Kohler http://www.us.kohler.com http://preview.tinyurl.com/go3cglh
4. Black and white color palette. Dark Greys in long Tiles; in both wall tile and Flooring.
Sorry Pantone, we know you have deemed pink and blue, Rose Quartz and Serenity — as the Colors of the Year, but in bathroom design, the contemporary chic of black and white is still outperforming pastels. Consider accenting with purple or mauve hues. And beige? It’s on the way out.
5. Water-saving fixtures
Water-efficient showerheads and faucets are big, thanks in part to the drought in California. But they’re not just for the environmental crowd. They’ll help save you money on your water bill, too, so it’s a win-win. Ditto for low-flow toilets.
6. Smart showerheads
It’s not just about the water; it’s about the whole shower experience. ShowerHeads are going more high tech than ever before. Most new models are water-Saving, Round – but, the latest trend is Square. Some models can even connect to the Internet via Bluetooth technology, so you can sync to play music and belt out some tunes. Other cool features allow you to have a steam shower experience, turning your bathroom into your own spa.
7. Freestanding tubs
These aren’t a new notion — clawfoot tubs have long been in vogue. But the freestanding soaking tub is becoming more and more popular with bathroom designers and will continue to be a favorite.
Want help incorporating these trends into your bathroom. Call KAdd Associates;847-971-4527 www.KAddassociates.com